How it works

From sign-in to operating your building — step by step.

These guides organize the real product workspaces by what you need to operate, build, connect, administer, protect, and recover.

Field workflow checklists

Carry the project from reuse through recovery.

These supporting procedures help technical teams verify compatibility, investigate issues, document handoff, and restore an authorized installation.

Reuse

Use an existing driver or component

Review the supported product, version, license, dependencies, and last-tested information before importing and validating a compatible package.

Diagnose

Trace an issue from space to device

Start with the affected location, identify its serving system, and review the available communication, live-status, and diagnostic information.

Handoff

Prepare a recoverable project

Export compatible files, record component versions, document access and integration requirements, and confirm the recovery copy.

Restore

Validate after recovery

Upload the backup to an authorized Windows 11 computer or VM, then verify permissions, connections, mappings, status, and operator views.

Guide 01

Get started with the Dashboard

Sign in and land in a workspace tailored to your account.
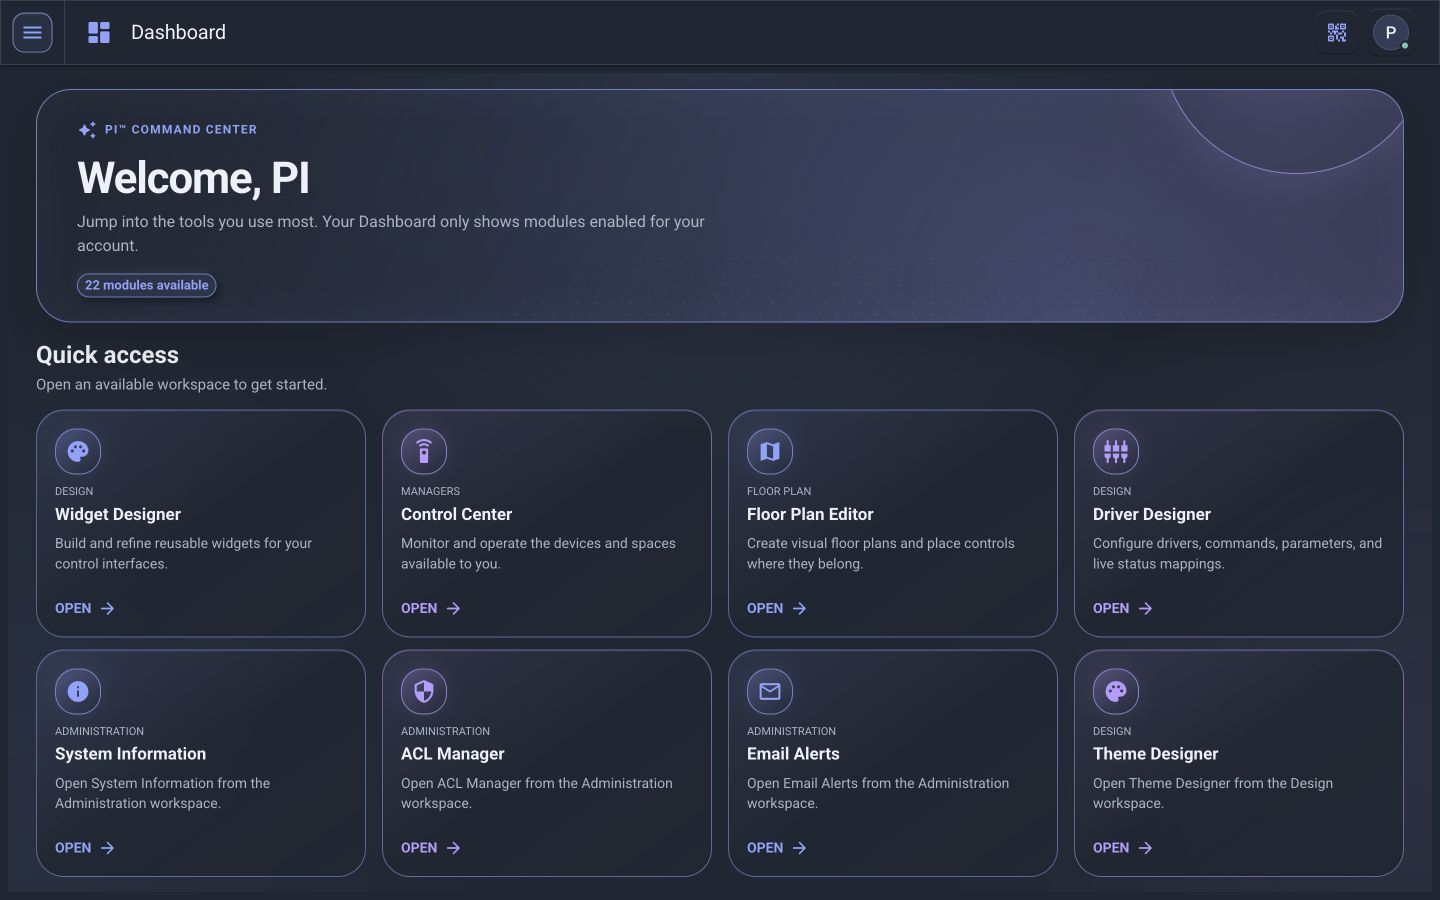
  1. Authenticate. Use the configured email-and-password sign-in or Google token flow. Your account, license, and permissions determine available access.
  2. Open your Dashboard. Only the modules enabled for your account appear, so every user sees a focused set of tools.
  3. Jump into a workspace. Use Quick access to open Control Center, Floor Plan Editor, Widget Designer, and more.
Request access
Real PI™ - Command Center Dashboard with role-aware quick-access workspace cards
Guide 02

Build a floor plan

Turn a floor into a visual, interactive map of controls.
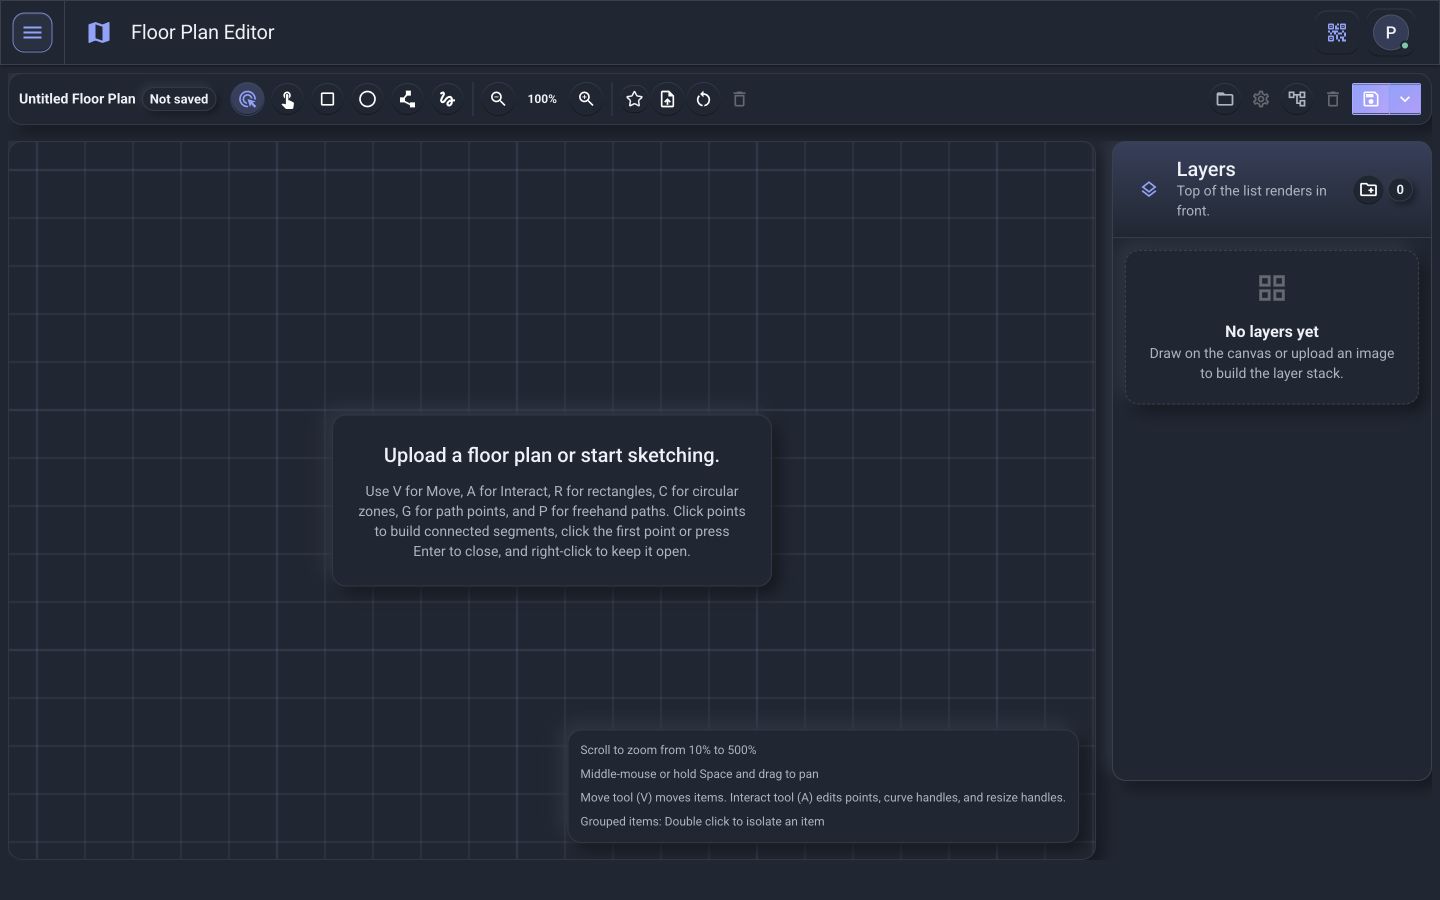
  1. Create a floor plan. Open the Floor Plan Editor and choose Create New Floor Plan.
  2. Upload or sketch. Import a floor plan image or PDF, or draw with the shape tools — rectangles (R), circular zones (C), path points (G), and freehand paths (P).
  3. Organize with layers. Use the Layers panel to stack and arrange elements; the top of the list renders in front.
  4. Place controls. Position devices and zones where they belong, then open the location & device manager to map them.
  5. Save. Save the floor plan so it’s ready to load in the Control Center.
Real PI™ - Command Center Floor Plan Editor with drawing tools, canvas, and layers panel
Guide 03

Operate a space in the Control Center

Monitor and adjust the building the way people think about it.
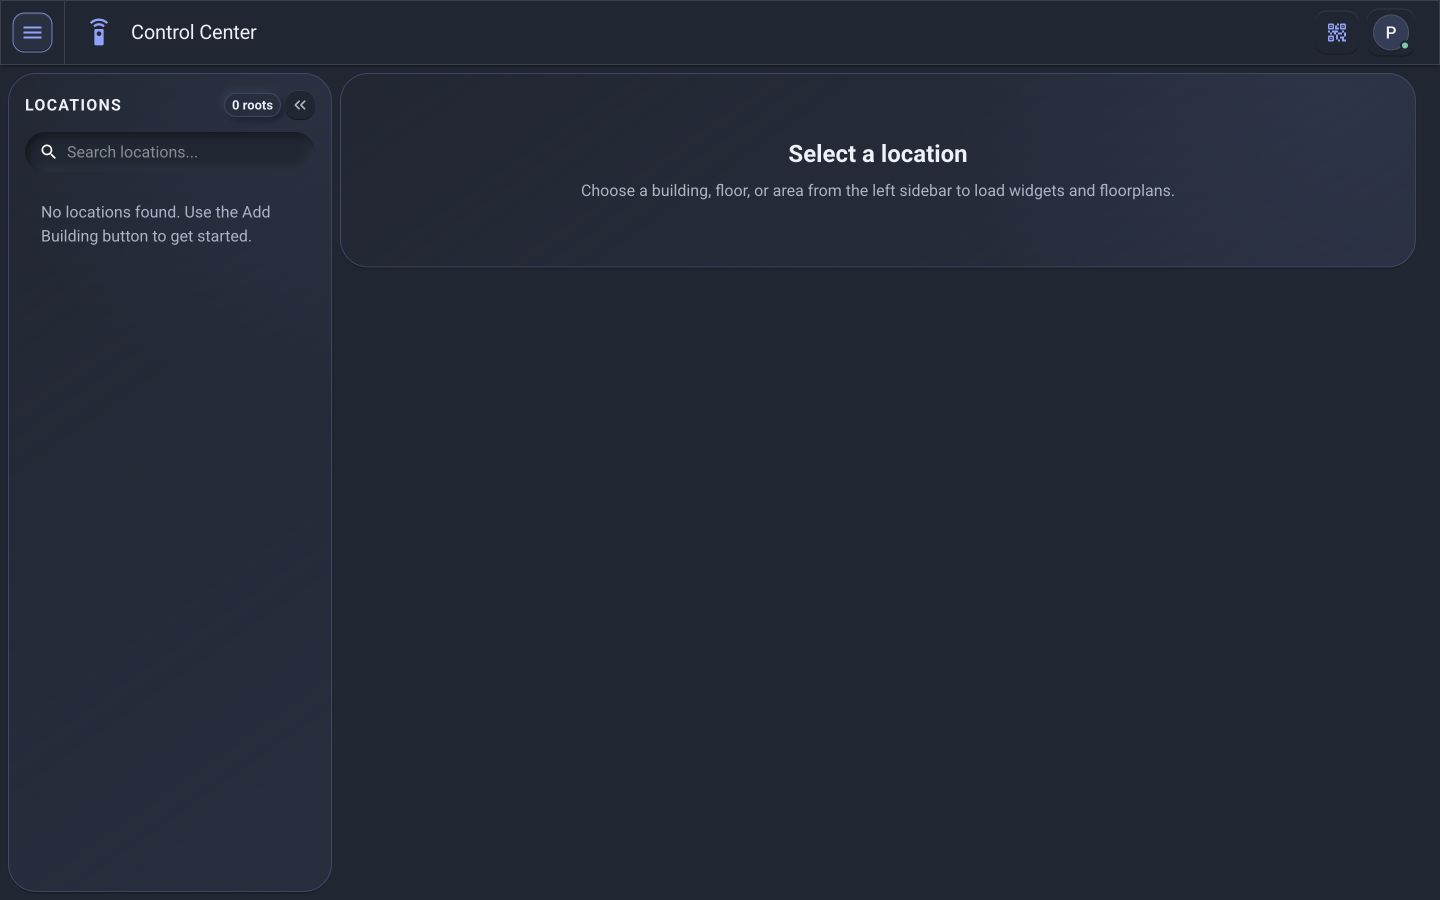
  1. Open Control Center. Launch it from the Dashboard or navigation drawer.
  2. Choose a location. Pick a building, floor, or area from the sidebar to load its widgets and floor plans.
  3. See what’s happening. Review lighting, temperature, shades, occupancy, schedules, and device status for that space.
  4. Make everyday adjustments. Operate the controls available to you — no programming software required.
Real PI™ - Command Center Control Center with locations navigation and empty workspace
Guide 04

Design a widget

Build reusable control interfaces once, use them everywhere.
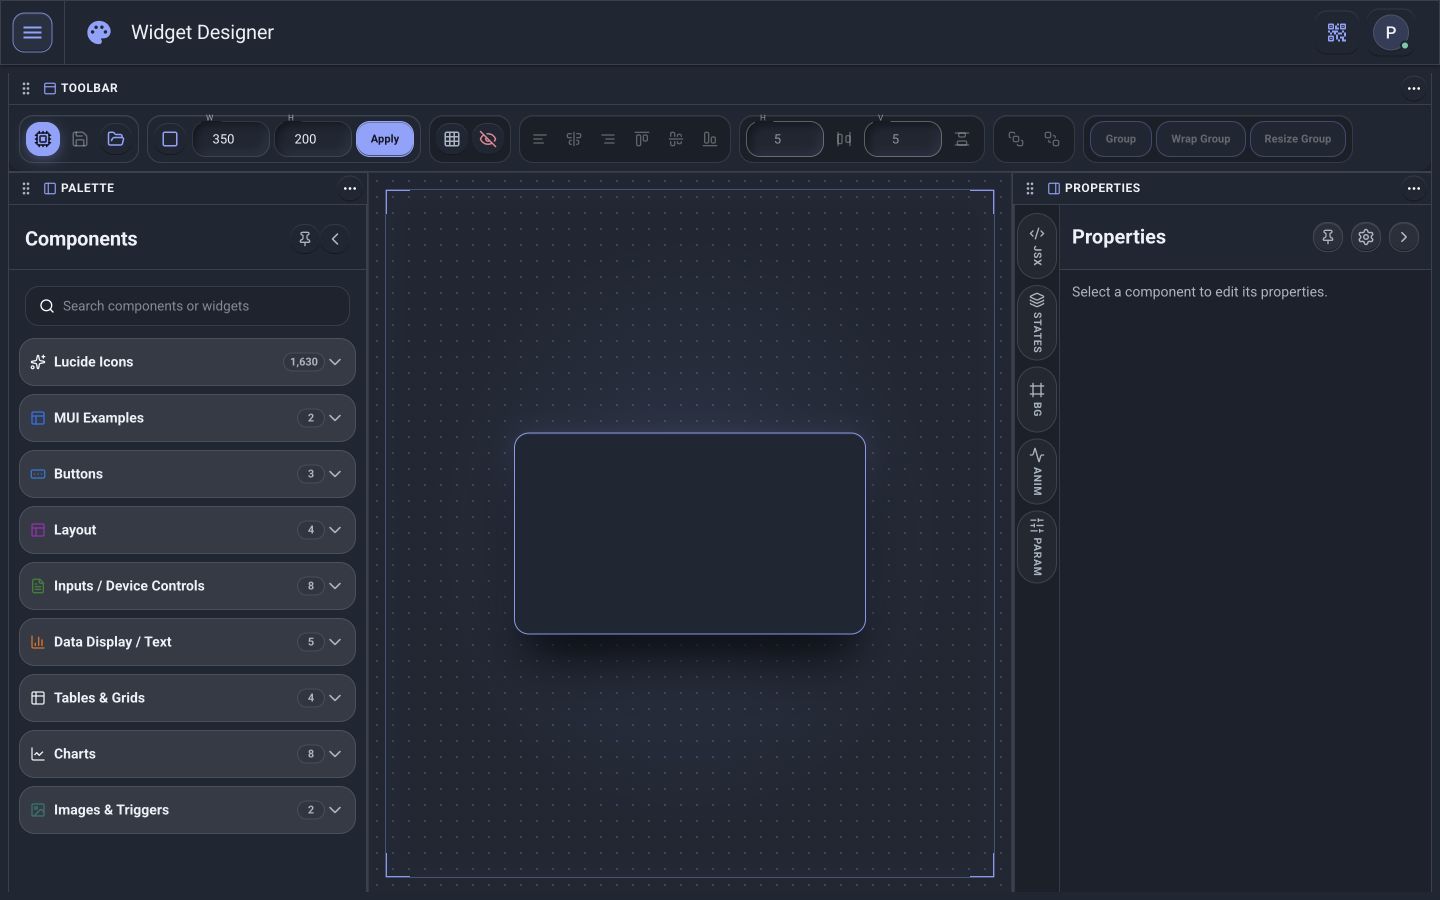
  1. Open Widget Designer. Start a new widget or open an existing one.
  2. Compose the interface. Build and refine the controls, readouts, and status indicators your operators need.
  3. Bind to devices. Connect widget elements to driver commands and live status mappings.
  4. Reuse across spaces. Place the finished widget onto floor plans and into Control Center views.
Real PI™ - Command Center Widget Designer with toolbar, palette, canvas, and properties panel
Guide 05

Configure a driver

Teach PI how to talk to a supported connected system.
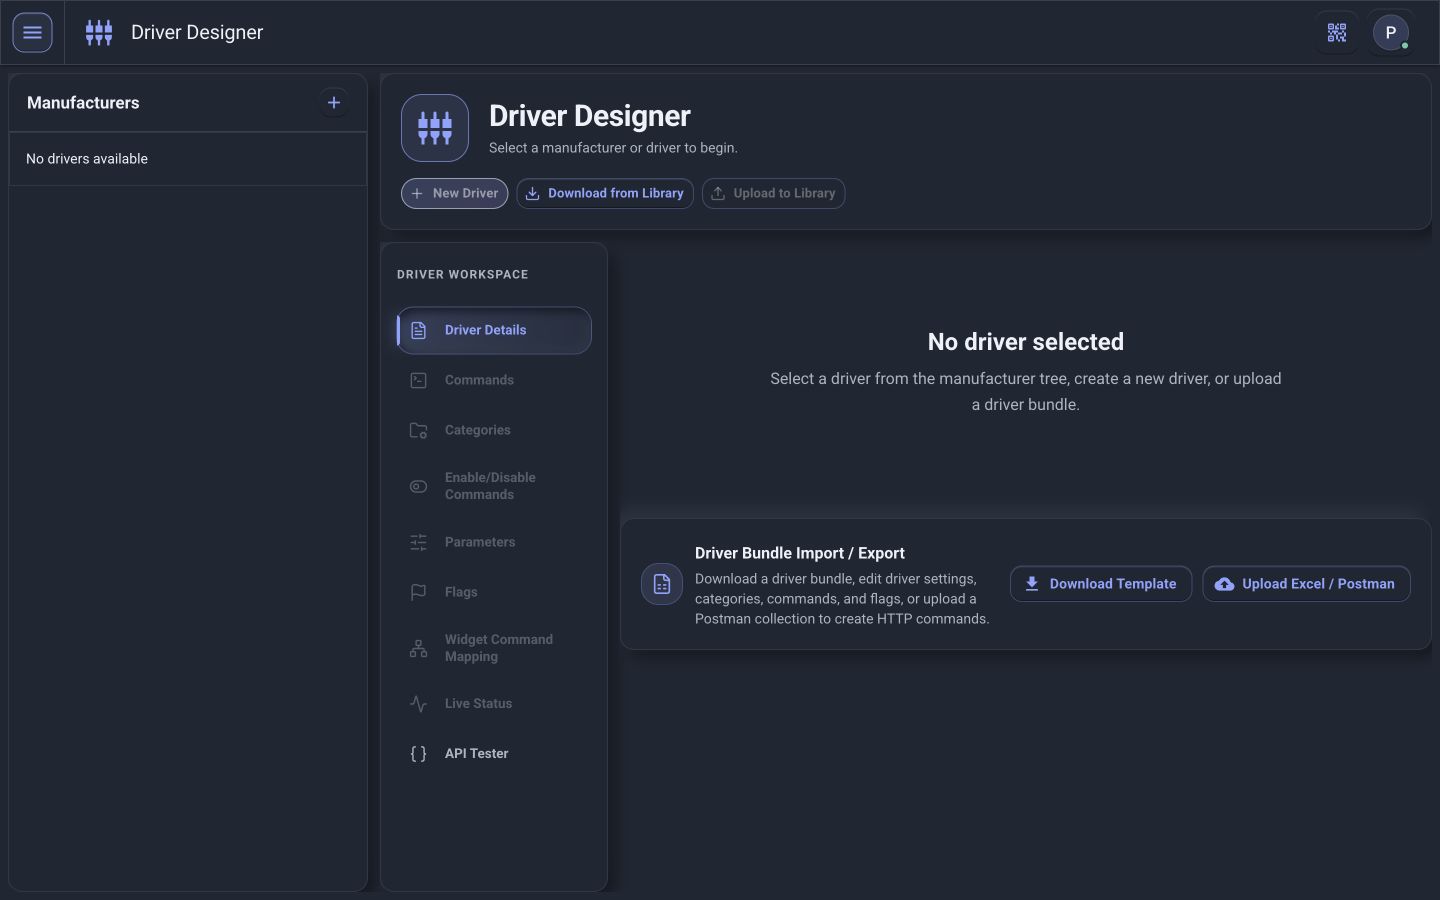
  1. Check the library. Find an existing driver and confirm its target product, protocol, PI version, licensing, and last-tested compatibility.
  2. Select or upload. Choose the compatible driver or upload an authorized package instead of recreating proven work.
  3. Configure the connection. Enter the permitted address, communication, authentication, and supported network-interface settings for the target equipment.
  4. Map and test. Verify commands, parameters, feedback, live status, diagnostics, and error handling before use.
  5. Save and back up. Download a recoverable project copy or save the files to organization-approved cloud storage.
Real PI™ - Command Center Driver Designer with driver selection and configuration workspace
Guide 06

Set up alerts & access

Notify the right people and control who can see what.
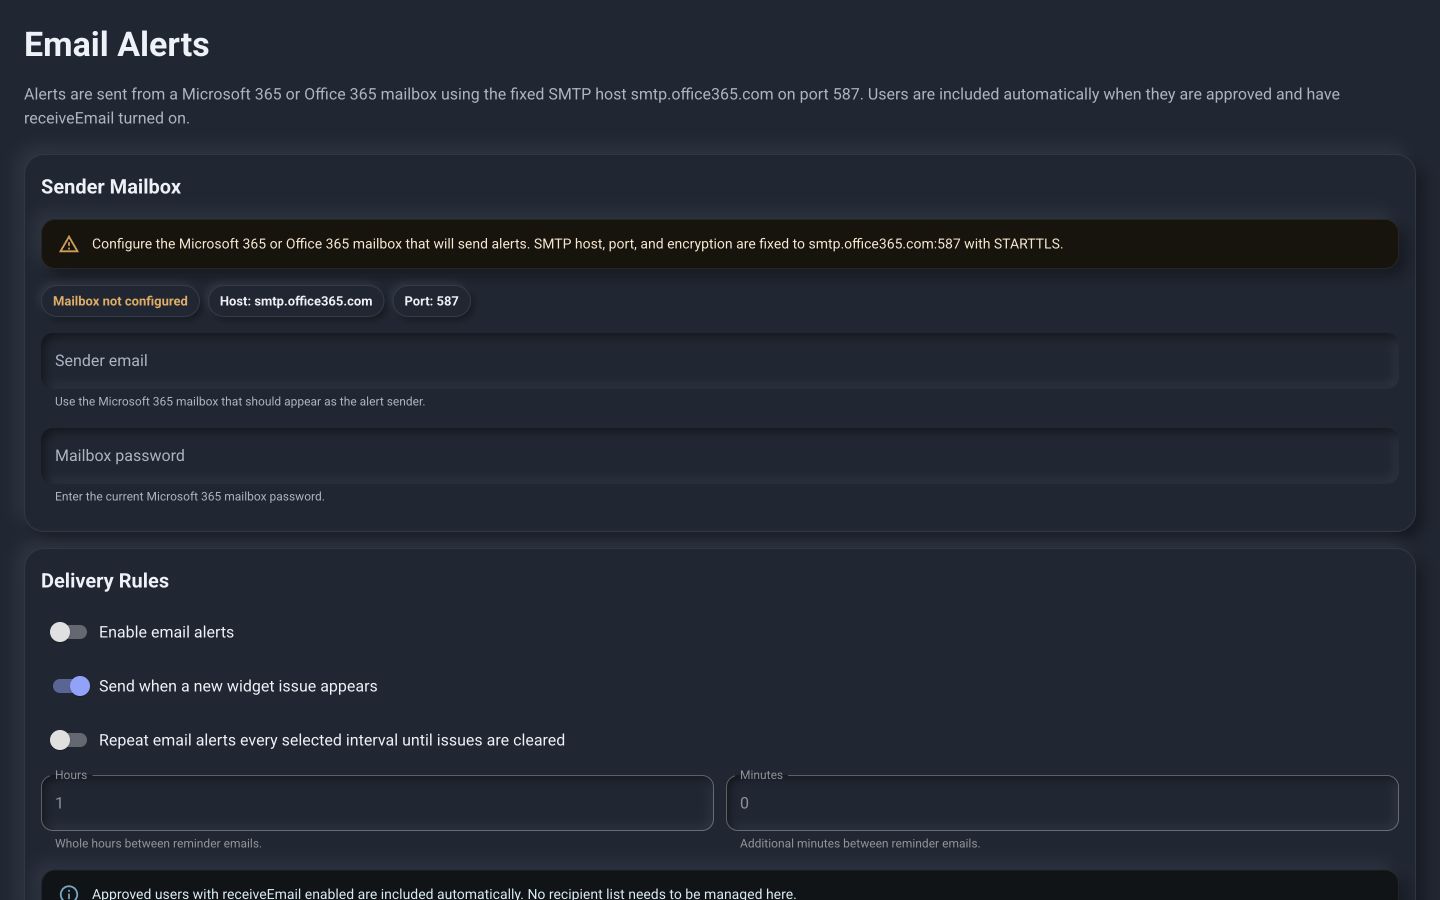
  1. Configure Email Alerts. Route condition-based notifications to the right teams when a device or system needs attention.
  2. Manage access in ACL Manager. Grant role-based access so users only see the buildings, systems, and capabilities appropriate for their responsibilities.
  3. Check System Information. Review platform status, services, and system health from the Administration workspace.
Real PI™ - Command Center Email Alerts administration screen with sender mailbox and delivery rules
Guide 07

Back up or move a PI project

Keep a recoverable copy of your work and move compatible files between authorized Windows 11 installations.

  1. 01

    Save

    Save the current project files locally or to the cloud location approved by your organization.

  2. 02

    Download

    Export a dated backup containing the supported configuration and reusable project assets.

  3. 03

    Upload

    Import the compatible files into the same system or a replacement Windows 11 computer or VM.

  4. 04

    Validate

    Confirm driver versions, connections, permissions, mappings, and live status after restoration.

No proprietary appliance required The restored project runs on a compatible Windows 11 computer or Windows 11 virtual machine selected for the deployment.

Guide 08

Commission an integration.

Use the dedicated workflow for your supported equipment, then verify its behavior before handing it to operators.

01

Choose and connect

Open the relevant BACnet, Vantage, Hue, or Crestron workspace. Configure the connection and complete any required pairing or authentication.

02

Review before import

Discover equipment or prepare the supported configuration file. Inspect the returned devices, available capabilities, and intended location mappings.

03

Import and verify

Import the selected equipment, then confirm identifiers, driver mappings, readable values, and authorized commands against the actual device.

04

Set up operation

Place the supported widgets, configure any groups or schedule profiles, and verify normal-hours and after-hours behavior with the operator.

Walk through a simulated discovery review →

Guide 09

Review saved network observations.

Use Network Diagnostics to investigate the PI server’s recorded network context and changes over time.

01

Load the saved observation

Open Network Diagnostics and refresh the view to load the latest saved observation. Refreshing this view does not perform an active device scan.

02

Compare the context

Review the recorded interface, address, gateway, DNS, and system information. Check observation timestamps before drawing conclusions.

03

Check the connection

Compare the affected instance’s selected network interface and addressing with the recorded host context, then verify communication using the relevant integration tools.

Diagnostic record, not a backup Network snapshots record host observations. Keep project exports and recovery procedures separate.

Want a guided walkthrough of your building?

Experience PI - Command Center